Materials
- 4.5mm hook
- medium 4 weight yarn in 2 colors
- Yarn needle
- Scissors
- Measuring tape
- Stitch marker if needed
Abbreviations
- Ch – chain
- Sc – single crochet
- TS- trinity stitch
- Sl st – slip stitch
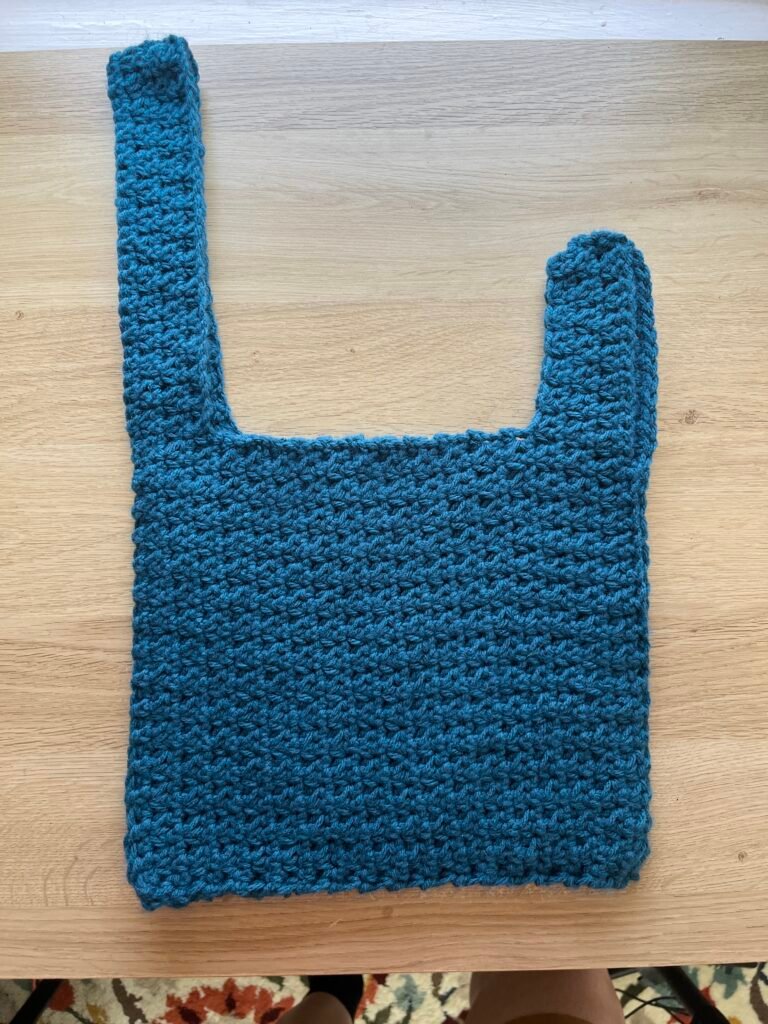
Panel 1: Start with Short Strap
- make a slip knot & ch 47
- note: to adjust length of straps, your starting ch must be multiple of 2 + a turning ch
- R1: in 2nd ch from hook make a sc, sc in each st across the row (46)
- R2: ch 1 & turn, sc in 1st st, make a row of Trinity Stitches, ended with a sc in the last stitch.
- To make a Trinity Stitch (TS): insert your hook in the same space, pull up a loop, insert your hook in the next space, pull up a loop, insert your hook in the next space, pull up a loop. You should have 4 loops on your hook. Yarn over and pull through all 4 loops, ch 1 to complete the trinity stitch! To make the next, remember to insert your hook into the last space you just made. You should always start the row with 1 sc and end the row with 1 stitch left, which will also be a sc.
- If a visual would help, check out my free crochet knot bag YouTube tutorial here:
- R3: ch1 & turn, sc across the row (46)
- R4: ch1 & turn, TS across the row (46)
- R5: ch1 & turn, sc across the row (46)
- R6: ch1 & turn, TS across the row (46)
- R7: ch1 & turn, sc across, but stop when you have 14 ch left
- R8: ch 1 & turn, TS across the row (32)
- R9: ch 1 & turn, sc across the row (32)
- Continue alternating these rows until your bag is as wide as you want it, I did 22 rows for the body.
Finishing Panel 1: Long Strap
- R23: make sure you are starting your long strap on a sc row, sc until you reach the last st of the row, then ch 29 & turn your work
- R24: sc in the first st, TS down the rest of the row, making sure to grab both loops once your reach the body of the bag, make sure to end with 1 sc in the last st (60)
- R25: ch 1 & turn, sc across the row (60)
- R26: ch 1 & turn, TS across the row (60)
- R27: ch 1 & turn, sc across the row (60)
- R28: ch 1 & turn, TS across the row (60)
- R29: ch 1 & turn, sc across the row (60)
- make sure your straps are the same amount of rows, tie off & weave in ends.
Panel 2: Start with Long Strap
- We are now making another panel, but in reverse starting with the long strap
- R1: make a slip knot & ch 61, in 2nd ch from hook make a sc, sc in each st across the row (60)
- R2: ch 1 & turn, sc in 1st st, make a row of Trinity Stitches, ending with a sc in the last stitch (60)
- R3: ch1 & turn, sc across the row (60)
- R4: ch1 & turn, TS across the row (60)
- R5: ch1 & turn, sc across the row (60)
- R6: ch1 & turn, TS across the row (60)
- R7: ch1 & turn, sc across the first 32 st, ch 1 & turn (32)
- R8: ch 1 & turn, TS across the row (32)
- R9: ch 1 & turn, sc across the row (32)
- Continue alternating these rows the same amount you did for the first panel
Finishing Panel 2: Short Strap
- R23: make sure you are starting your strap on a sc row, sc until you reach the last st of the row, then ch 15
- R24: sc in the first st, TS down the rest of the row, making sure to grab both loops once you reach the body of the bag, make sure to end with 1 sc in the last st (46)
- R25: ch 1 & turn, sc across the row (46)
- R26: ch 1 & turn, TS across the row (46)
- R27: ch 1 & turn, sc across the row (46)
- R28: ch 1 & turn, TS across the row (46)
- R29: ch 1 & turn, sc across the row (46)
- make sure your straps are the same amount of rows, leave ends to use to attach straps later
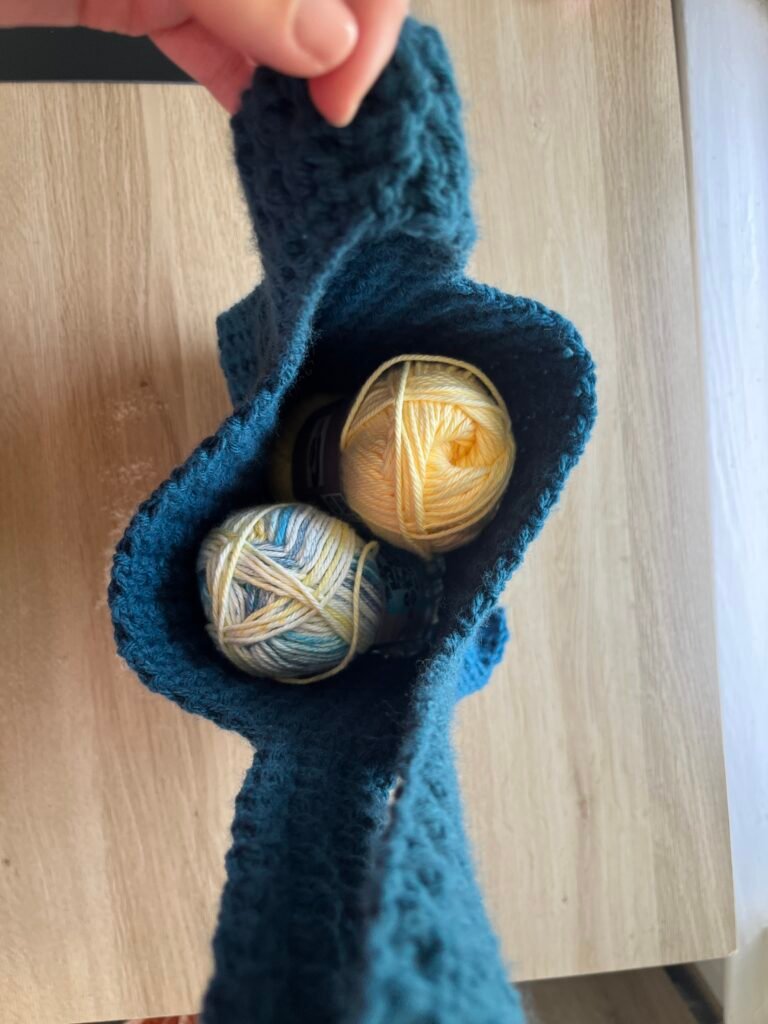
Joining Panels
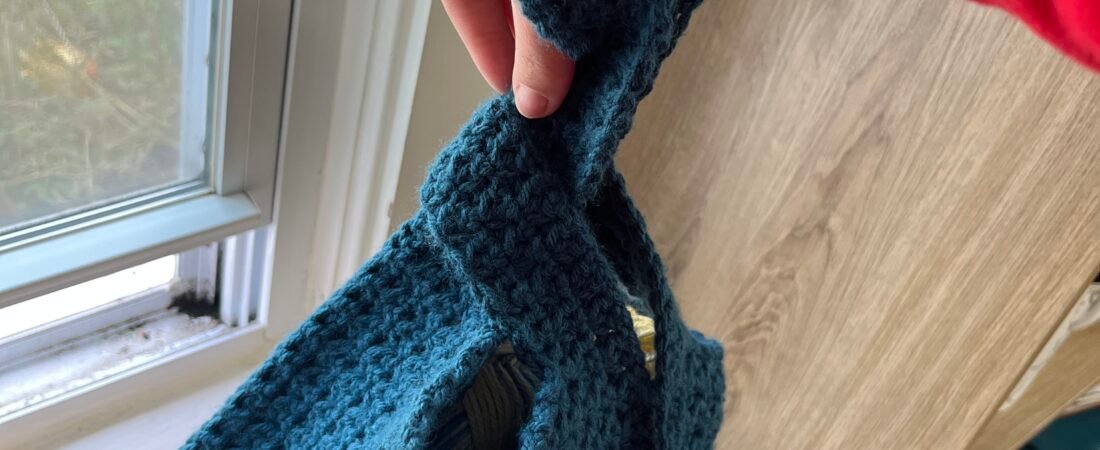
- The Trinity Stitch creates a right side & a wrong side, I love how both of them look, but it is up to you which side is outward facing.
- For this pattern, use a long strand of yarn to attach your panels together wrong sides facing each other.
- Sew along the edges and bottom of your panels
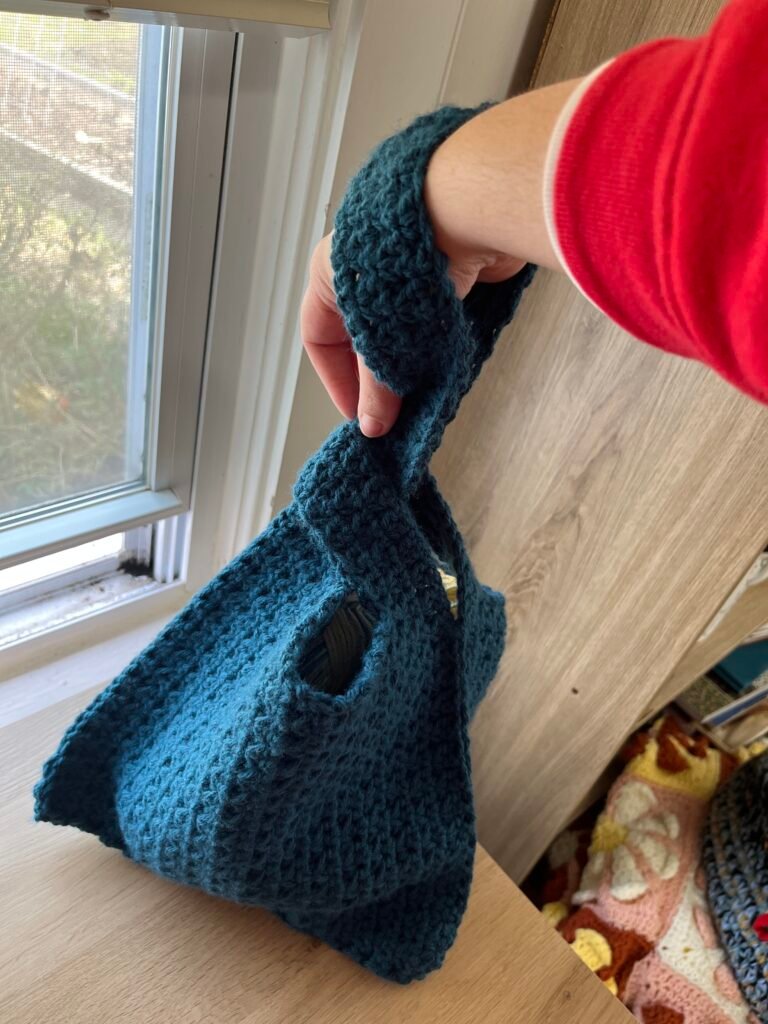
- Use the leftover tails to join your straps at the very tips
- Tie off & weave in ends!
Happy crocheting henny xoxo
copyright 2026 LITTLESEEDLINGHOMESTEAD.COM
Blog post may include affiliate links in which I make a commission from your purchase